Tag Archives: Portrait

Northglenn, CO | Documentary Portraits | Playtime Pictures

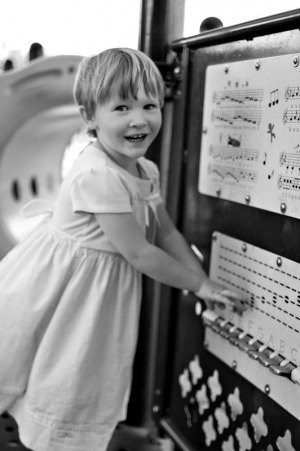
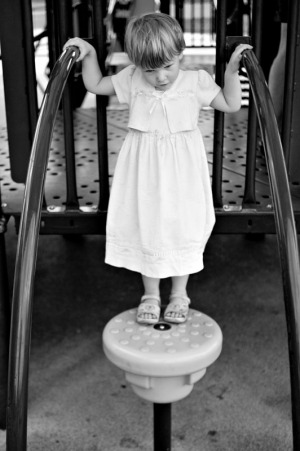
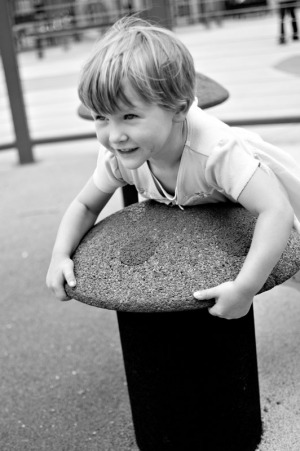
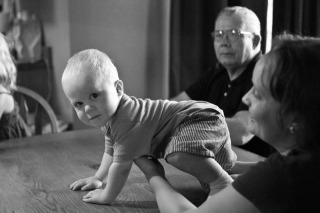
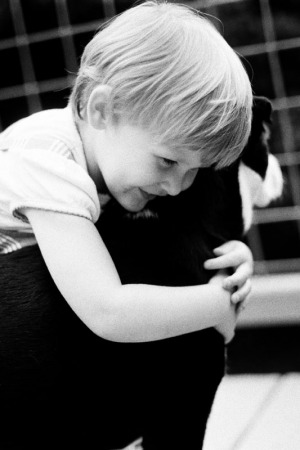
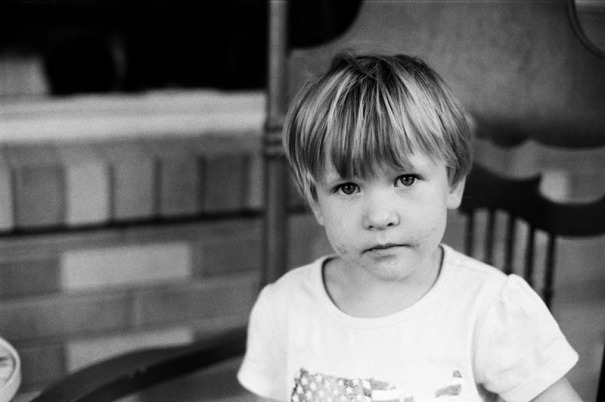
Here are some fun documentary portraits from a trip with Molly to E.B. Rains Jr. Memorial Park in Northglenn, CO.  I really like these pictures because they feel authentic, with great expressions and an interesting environment that adds to the image. The pictures were captured using just the available light, with no posing necessary. I really prefer to work in this way, especially with kids. Interacting and moving around beats sitting and saying “cheese” every time.

To get kids looking at the camera, just wait until they have slowed down to focus on something (like playing the “piano” below) and then say their name. They will look over, and you can snap the picture before they realize what you are doing. Once they realize, they may put on the big fake smile, or look away. It depends on the kid… and the day.

You can click on any of the images to see them larger. Enjoy…

Tech Info:
Nikon D70s
Nikon 35mm f2
B&W conversion in Adobe Camera Raw 5

Documenting Your Family | Photo Tips | Make Some Prints

I wanted to use today’s post to remind you to print your pictures. With the advent of digital photography, we are all shooting far more pictures than we ever have in the past. But I fear we are actually printing far fewer.

I know I am guilty of this, but it is something that I am consciously working on. I have actually moved back to film cameras for a lot of my photography, specifically so I can have a tangible document (a negative). It still makes me nervous that after shooting something on a digital camera, and going through all my back-up procedures (a topic for a future post), I really only have a bunch of ones and zeros on a magnetic disk (or two or three). My feeling is that if you don’t have a print, you don’t have a photograph. For this reason, all of my wedding and family portrait sessions include a complete set of real photographic proof prints.

One of the great things about digital photography is our ability to pick and choose the pictures we want to print. If you shoot fifty pictures at a birthday party, you don’t need to print all fifty, just pick your five favorites and print them. But, don’t forget to print them. The follow through is where we get into trouble.

I would recommend setting up an account with flickr (did you know you can order prints through flickr?), Costco, Adoramapix, Winkflash, Snapfish, or any of the other online print providers and start uploading your favorite pictures.  A quick tip  – the printing is cheap compared to the shipping, so wait until you have enough images to make it worth the shipping costs, or if you live near a Costco, you can order the prints online and pick them up at the store.

When documenting your family, it is critically important to have these memories archived in a tangible way. If you are shooting digitally, you no longer have negatives to fall back on, so prints are your best way to ensure that the memories you have captured will be visible for generations to come.

Tech Info:
Sigma SD9
Sigma 50mm f2.8 Macro
Window light
ISO 100, f4.0, 1/60

Documenting Your Family | Photo Tips | Get Closer

“If your pictures aren’t good enough, you’re not close enough.” – Photojournalist Robert Capa

Robert Capa was a war photographer who was well known for always being right in the middle of the action. He was killed by a landmine while photographing the First Indochina War, on May 25, 1954. His quote above is a reminder for us to get physically closer and become more intimate with those we are photographing. Capa did not accomplish this through the use of long lenses (not in common use prior to 1954), but through proximity.

Getting closer accomplishes a few things:

It lets us understand what is going on and lets our subjects get used to us being around and having a camera. If you stand on the edges of the action and use a long lens to capture images, this will often draw attention and even suspicion. If you are comfortable and involved, people will start to forget about the camera and you can document truly candid moments. Photographing your own family makes this really easy, you are a supposed to be there, all you have done is add a camera to the mix.

Getting closer and using a wide angle lens will allow you to incorporate background into an otherwise intimate photograph. This gives the image a sense of place and tells the viewer what was going on at the time the picture  was captured. This type of picture is often called an environmental portrait.

If you get close while using a normal or short telephoto lens (the max I routinely use is an 85mm) you are able to remove much of the background or turn it into a pleasing blur. This focuses the viewers attention on your main subject and can make for a powerful photograph.

Getting close and being involved with your subjects gives you far more options in terms of lighting and background/foreground elements. If you are standing back and shooting with a long lens, you are pretty much stuck with whatever light direction and elements happen to line up in your frame at the time the shutter is tripped. If your subjects are comfortable with you, and you can move in among them, you can position yourself so there is attractive light, a cool foreground element in the frame, or nice tones/colors in the background. The choice is yours, it is not being dictated by your location or your long lens.

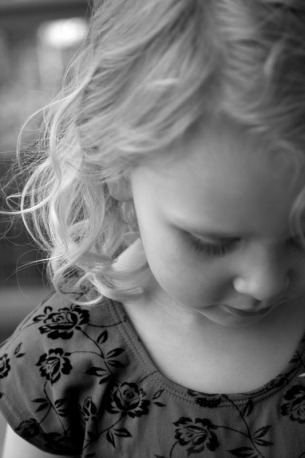
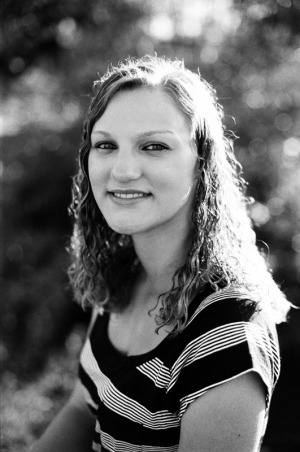
Finally, a note on cropping. As you can see in the image above, you do not always have to show a person’s whole head in a close up portrait. In this portrait, I was really interested in Emma’s wavy hair and the flower pattern in her shirt. I came in close with a 50mm lens (equal to an 85mm on 35mm film) and only shot the right side of her face and included her hair and her shoulder. What did this technique accomplish?  It brought attention to the elements that I was interested in documenting, it excluded the dark shadows on the left side of her face, and it created a pleasing off center composition. Also, the distracting background was reduced to a soft blur.

I hope you find these tips helpful, give them a try and let me know what you think.

Tech Info:
Sigma SD9
Sigma 50mm f2.8 Macro
1/350 sec, f/3.5, ISO 100
Converted to B&W in Adobe Camera Raw

Boulder, CO | Chautauqua Wedding | Bridal Party Portraits

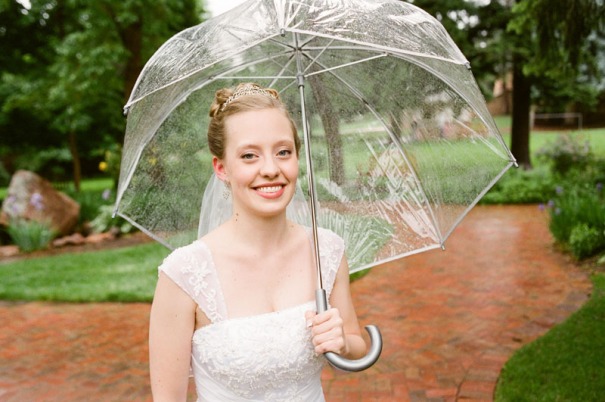
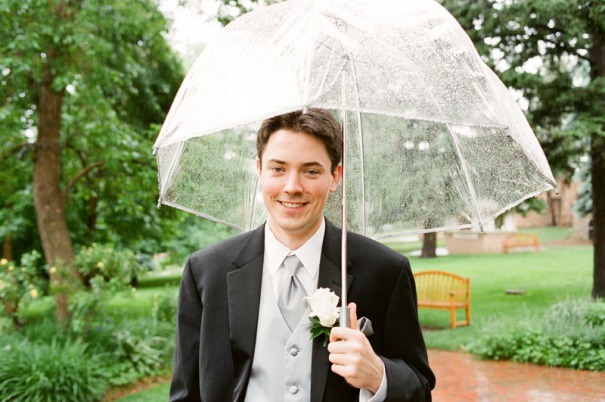
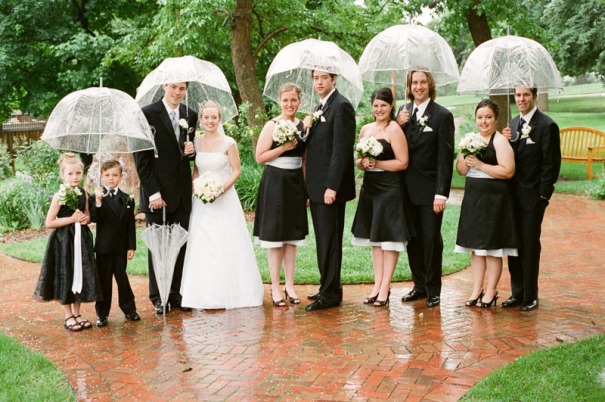
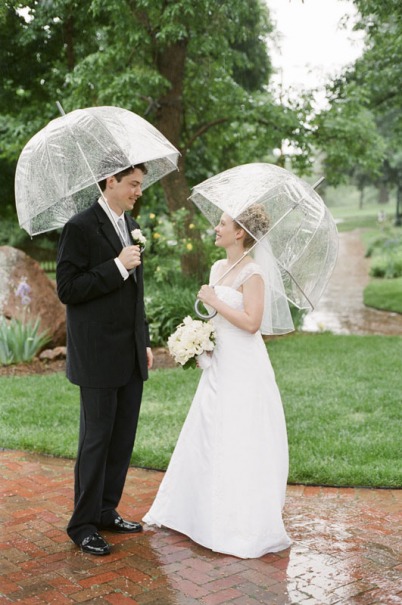
Below are a few of the Bridal Party portraits from Kate and Brandon’s fun and intimate wedding at the Chautauqua Community House in Boulder, CO.

As you can tell from the photos, it was raining pretty hard throughout the day. We really wanted to get outside to shoot these portraits, but because of the weather, we had to work fast and be resourceful. Knowing that the forecast called for rain, Kate and I had both picked up clear umbrellas that worked out really well throughout the day. I think these umbrellas add a cool element to the images that help tie them together an make them unique.

Normally, I would spend a little more time with the bridal party working on variations, groupings, individual portraits, etc., but in this situation, if we had spent any more time outside in the elements, it could have easily turned into a “trash the dress” shoot – not a great idea for the wedding day.

We were all really happy to have such a great location just a few yards from the wedding venue. The muted light, saturated colors, and shiny wet surfaces, mixed with everyone’s great expressions, really made for some beautiful photographs that sum up the emotions of the day.

You can click on any of the images to see them larger. Enjoy…

Tech Info:
Nikon N90s
Nikon 35mm f2
Fuji Pro 400H
Processing and Scans by Richard Photo Lab

Westminster, CO | Self Portrait | Set-Up & Execution

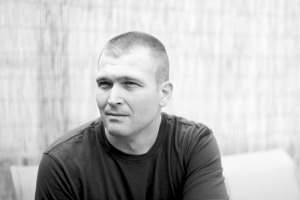
The image at left is a recent self portrait. To give you some ideas about things to consider before a portrait shoot, I thought I would try to give you some insight into my thought process on setting up this shot, and details about the actual execution of the shoot.

To start, I am not crazy about the typical “photographer holding a camera while looking in the mirror” self portrait. It can be very limiting in terms of both location and lighting. Instead, I wanted a portrait in a real location using available light. This is my standard operating procedure for any other portrait, why should a self portrait be any different?

As a location, I chose the back deck on my home in Westminster, CO. My family and I spent a good portion of the early summer refurbishing and adding on to the deck, so I thought it would be an ideal location. The north end of the deck is only a few feet from my neighbor’s yard, so we put up six foot reed fencing along this railing to provide privacy. The reed fencing served as the background that you see in the image. Now, if a fence on the north end of the deck served as the background, that tells us that I was facing South when the image was exposed. Normally this wouldn’t be an ideal lighting situation. Fortunately, I planned ahead and shot this image in the late afternoon, and my house blocked the direct light from the sun. So I was lit by the open sky, and fill light was provided by the light gray walls of my house.

For wardrobe, I chose a medium blue shirt. I wanted something that would separate from the background, but would not be too dark and contrasty. Also, I had a haircut a couple days before the shoot. If I go too long without a haircut, my hair naturally grows to a point and it starts to look like I am trying for a mohawk.

For this self portrait, I knew that I wanted to use shallow depth of field to blur the background and draw attention to my eyes and face. To accomplish this, I decide to shoot the image digitally. Using the self timer to expose the image, and shooting film, I wouldn’t know if the pictures were in focus until I got the film back from the lab.

To create the image, I set up my Nikon D70s on a tripod with a 50mm f1.4 lens attached. I set the ISO to 200, the aperture to f1.4 and the shutter speed to 1/1600 of a second. In the shot, I am sitting in a chair and leaning forward on our patio table (the table is not visible). I pre-focused the lens on the edge of the table and then recomposed the shot to cut out the table and give some room above my head. Finally, I set the self timer for 10 seconds, pushed the shutter release and ran over to my chair and sat down. I then leaned in and tried to position my eyes directly over the edge of the table. Before the shutter tripped I just needed to put on an expression that didn’t make me look like a total dork, no easy task. I eventually ended up going through this series of steps about ten times to get a few frames that I liked.

A couple of things that I particularly liked about this frame. I am looking off camera which seems a little more natural, and I only have a half smile, making me seem approachable but not too dorky. Also, this frame looks good as a horizontal (how it was shot), or cropped as a vertical or square…
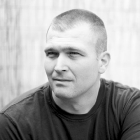
Jason Noffsinger Self Portrait This is something important to think about when you will be repurposing the image across the web.

You can view the image “in action” over here on my About page, or on my Facebook fan page.

Tech Info:
Nikon D70s
Nikon 50mm f1.4
ISO 200, f1.4, 1/1600
B&W conversion in Adobe Camera Raw
Documenting Your Family | Photo Tips | Turn Off That Flash

Red eyes, harsh glare, shiny foreheads, ugly reflections in the window – these are not the things memories are made of. That little flash built into your camera is the number one culprit in bad photographs. It’s intrusive and distracting, pulling attention away from the scene being photographed and toward the photographer. Think of it as a last resort. If you absolutely have to get a picture, and it is really dark, go ahead and use it. But how often is it that dark?

With the newer crop of digital cameras allowing the use of high ISO’s, and ever improving lenses that open up to wider apertures, we can shoot in dimmer and dimmer light without resorting to on-camera flash. Below are some tips to help you get the best photos you can using only available light:

  1. Crank up that ISO. You will see a lot written about the horrors of noise in your digital files, and you will see noise, no doubt about it. But most everyone has moved on to cameras with 8, 10, 12, or even 14 megapixels. This is much more resolution than you actually need for a 4X6 or 5X7 print. So even if the noise looks bad blown up huge on the monitor, it will be much less noticeable in an actual print.
  2. Brace yourself. When you are not using flash, you will have to use slower shutter speeds to let enough light hit the sensor to capture a properly exposed image. The problem with slower shutter speeds, is movement. If the camera moves while the shutter is open, you will get a blurry picture. Your mission is to minimize this movement. Stand as if you were on a moving train/bus, feet apart and knees slightly bent, and squeeze your elbows against your sides as you hold the camera. Ideally, there would be a wall nearby that you could lean against. Finally, gently press the shutter release, don’t mash it.
  3. Anticipate the action. Just like camera movement, subject movement will cause blurry pictures. The best way to counteract this is to pre-focus your camera on your subject and wait for a slight pause in their motion. This is especially important with kids, they are little balls of energy. Also, pictures with motion blur can be really interesting. They are much better than pictures that are simply out of focus. Embrace this.
  4. Learn to love black & white. When shooting with the available light, you are likely to have orange light from standard bulbs, green light from fluorescent bulbs, and blue light from the window all mixing together in one scene. Neutralize all these color casts by simply switching the image to black and white. One added benefit, the noise mentioned in tip one (above) looks much more like classic film grain once the image is converted to black & white.

As you practice these techniques, you will get much more comfortable shooting without the flash. You should also start to get more interesting images that look more like something you would see in a newspaper or magazine and less like a snapshot in a photo album.

Tech Info:
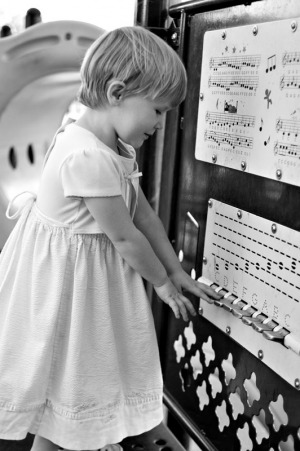
This is certainly not the greatest photograph that I have ever made, but I think is does a good job of illustrating the points mentioned in the blog post. Just click on the image to see it larger.
Nikon D70s (This is an old 6 megapixel DSLR)
Nikon 35mm f2 lens (An inexpensive fixed, non-zoom, lens that opens to a wide aperture)
ISO 1250 (This camera maxes out at ISO 1600)
No Flash
Mixed lighting – Window, standard light bulbs & fluorescent tubes
Converted to B&W in Adobe Camera Raw
Arvada, CO | Baby Portrait | Smile, It’s A Holiday Weekend!

Smile everybody, it’s a holiday weekend!

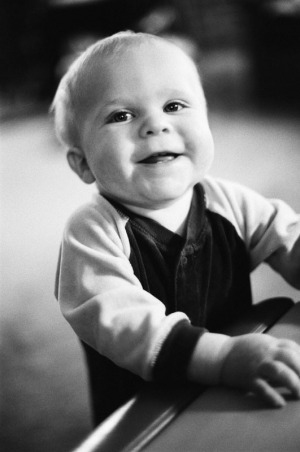
Let’s kick it off with a picture of a happy baby. Check out those new teeth.

This scene was photographed during an at home portrait session in Arvada, CO. All of the light was provided by large windows to camera right, and a smaller window just out of frame above the baby’s right shoulder. Fill light was provided by the window light bouncing off of the rest of the walls in the room. Fast film (ISO 1600) and a fast lens (50mm f1.4) let me grab this shot while keeping motion blur to a minimum.

You can click on the image to see it larger. Enjoy…

Tech Info:
Nikon F100
Nikon 50mm f1.4
Fuji Neopan 1600
Processing and scanning by Richard Photo Lab

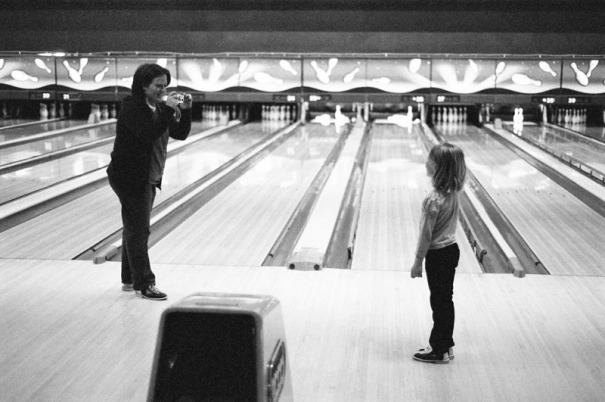
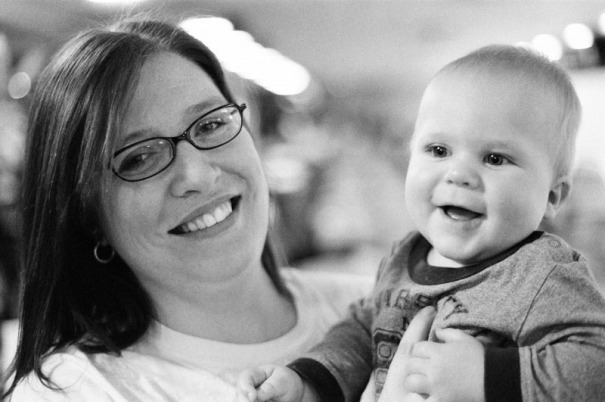
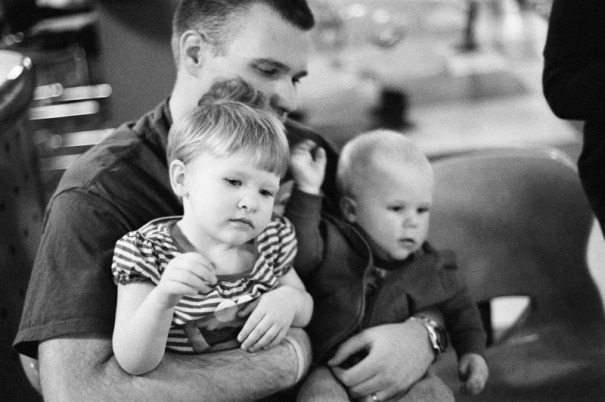
Arvada, CO | Documentary Family Pictures | At The Bowling Alley

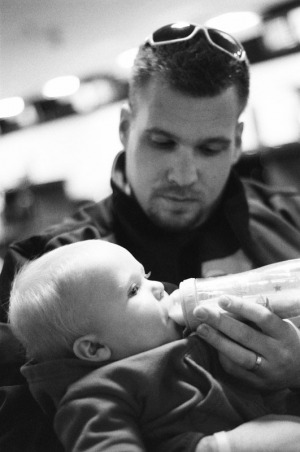
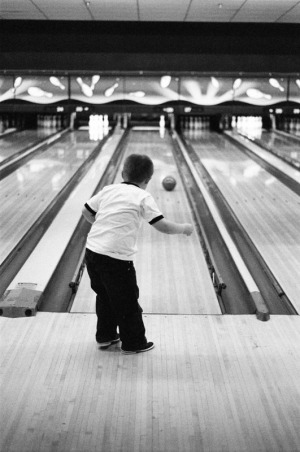
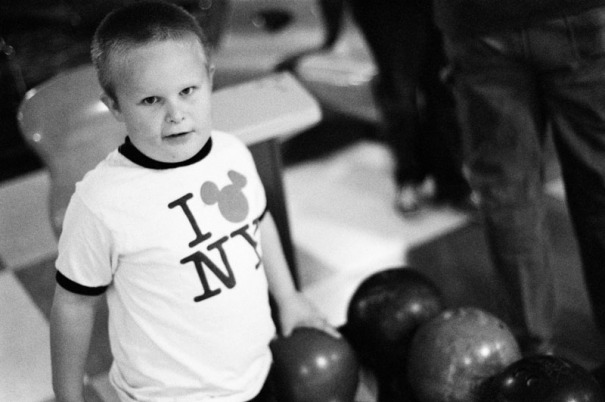
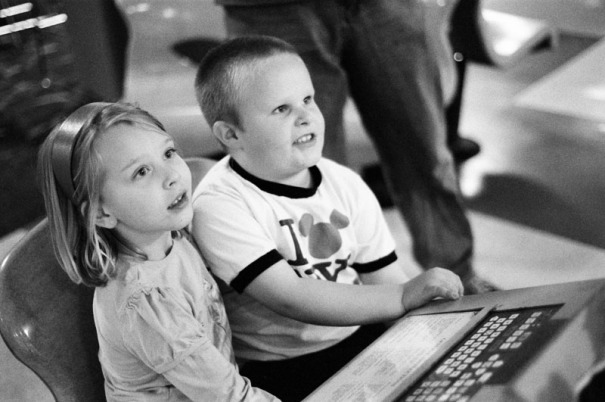
I love to go “on location” to shoot family portrait sessions. When you can get out and do something, people start to have fun and interact. This interaction makes for much more natural and spontaneous pictures. When the natural location is coupled with available light photography (no annoying flash pops), subjects tend to open up and let me document who they really are. The resulting pictures tell a much better story about the family than a studio portrait ever could.

Below we have pictures from a trip to a local bowling alley here in Arvada, CO. Everyone had a great time, and I was able tell a story about the family and how they interact. Even though bowling alleys are not exactly know for their great light, I was able to push my black and white film and use a fast lens to capture these moments, and I think the grainy look really adds to the authenticity of these images.

You can click on any of the pictures to see them larger. Enjoy…

Tech Info:
Nikon N90s
Nikon 50mm f1.8
Ilford HP5 Plus – pushed 1 stop (ISO 800)
Processing and Scanning by Richard Photo Lab

Glenwood Springs, CO | Documenting Family | Summer Barbecue

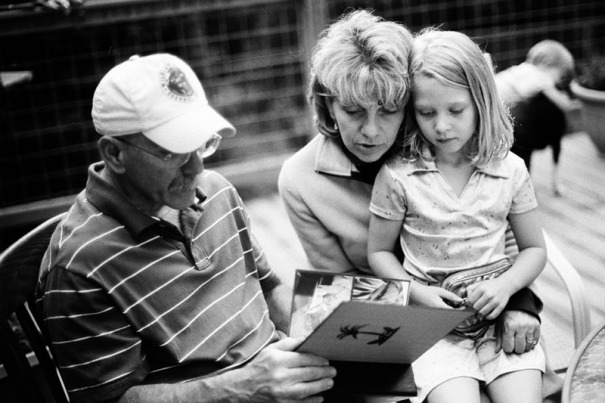
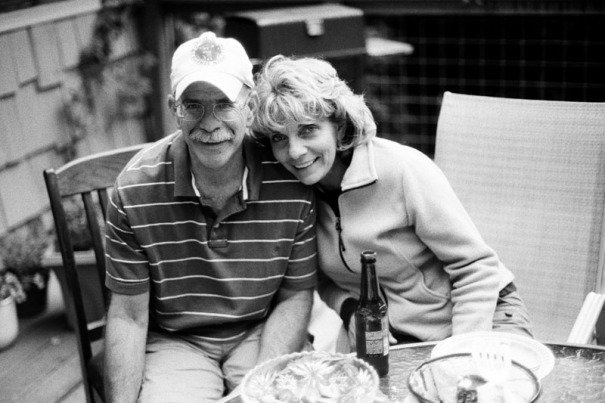
Here are a few more pictures of my favorite subjects. These images are from a family barbecue at my father-in-law’s house in Glenwood Springs, CO. I had great late afternoon light and a beautiful day so I decided to shoot some film.

I love to document these small events, they are authentic moments in a family’s history that could be easily forgotten if they are not captured on film (or a digital sensor, if you must).

Click on any of the images to see them larger. Enjoy…

Tech Info:
Nikon F100
Nikon 50mm f1.4
Legacy Pro 400 (AKA Neopan 400)
Richard Photo Lab

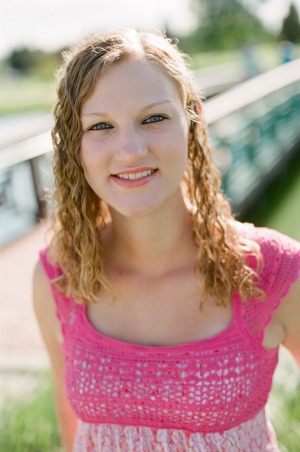
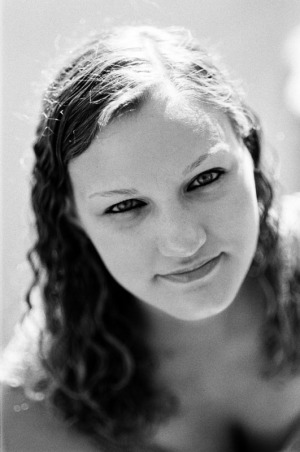
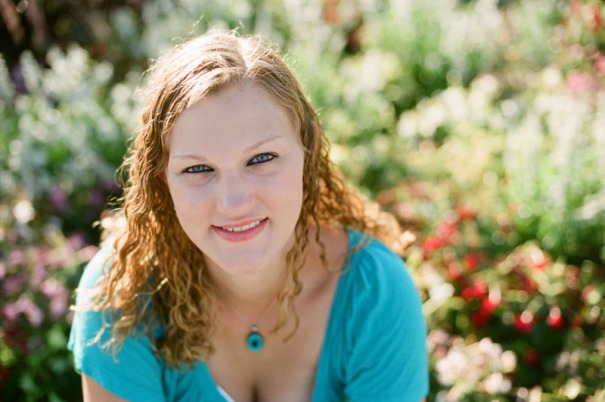
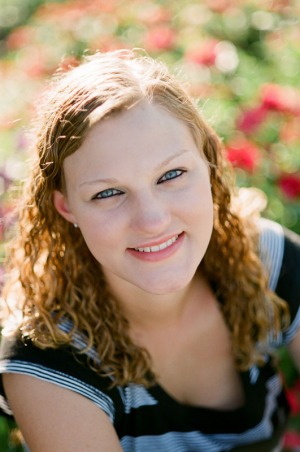
Northglenn, CO | Senior Portrait | Breanna – Westminster H.S.

Breanna was a great subject to shoot. She is at that cool point in her life where she is comfortable in the present, but thinking about college and her future. Her whole life is ahead of her and she is excited about it. That is what makes senior portrait sessions so much fun.

I blogged the digital pictures from this senior portrait shoot last week. Below are the film scans by Richard Photo Lab.

I think the film scans are really beautiful. In color, digital files tend to look sharp and contrasty with punchy colors, while the film scans look softer and more pastel, almost ethereal. In Black and White, film just looks right. The blacks are punchy and highlights retain detail. Love it!

You can click on any of the pictures to see them larger. Enjoy…


View the entire session and order prints here.

Tech Info:

Color

  • Nikon N90s
  • Nikon 50mm f1.4
  • Fuji Pro 400H
  • Scans by Richard Photo Lab

Black & White

  • Nikon F100
  • Nikon 85mm f1.8
  • Legacy Pro 400 (AKA Neopan 400)
  • Scans by Richard Photo Lab